
How to Make a Cardboard Cutout?
Posted by Bruce on Oct 16th 2026
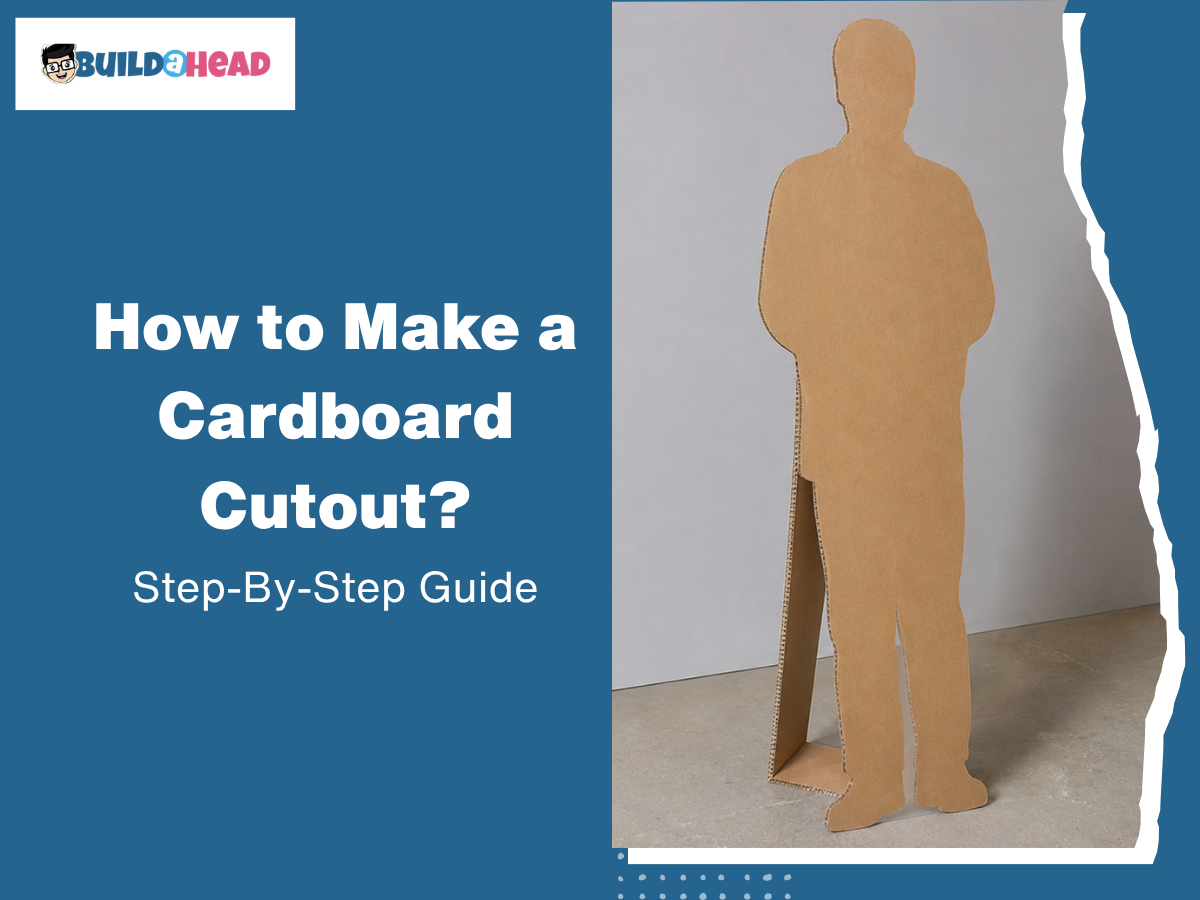
To make a cardboard cutout, select a high-resolution image, choose the correct size, print it, trim and arrange the pages, attach the image to cardboard, let it dry, cut around the outline, reinforce the back, add a stand, and protect the front surface. To do this properly, gather the right materials first, including 4mm corrugated cardboard, a high-resolution printed image, spray adhesive, support stands, heavy-duty tape, an X-Acto knife, a cutting mat, a ruler, and a pencil for accurate trimming, assembly, and positioning.
Once completed, cardboard cutouts work well as event centerpieces, photo booth backdrops, retail displays, room decorations, marketing props, and personal celebration displays thanks to their lightweight structure, visual appeal, and custom-size flexibility. However, achieving that polished result depends on choosing the right image resolution, material thickness, lamination, finish type, and backing support, as these directly affect the sharpness, durability, stability, and overall appearance of the finished cutout.
Follow the steps below to make a cardboard cutout:
- Step 1: Select a Clear Image
- Step 2: Decide the Cutout Size
- Step 3: Print the Image
- Step 4: Trim and Arrange the Pages
- Step 5: Attach the Image to Cardboard
- Step 6: Let It Dry
- Step 7: Cut Around the Outline
- Step 8: Strengthen the Back
- Step 9: Add a Stand
- Step 10: Protect the Front
What Materials and Tools Do You Need to Make a Cardboard Cutout?
Materials needed to make a cardboard cutout include a high-resolution photo, corrugated cardboard or foam board, adhesive, and printed image sheets, whereas tools include a printer, X-Acto knife, utility knife, scissors, and a cutting mat. Each of these materials and tools plays a key role in making a cardboard cutout and helps ensure your custom cardboard cutout stands out and lasts.
Materials required to make a cardboard cutout include:
- Large Cardboard Sheets: Thick 4mm heavy-duty corrugated cardboard for better support for life-size cardboard cutouts.
- Printed Image: A high-resolution photo (preferably 300 DPI) with a clean background and detailed edges for better detail when enlarged to a life-size cardboard cutout.
- Adhesive: Spray adhesive (such as 3M Multi-Purpose), rubber cement, Mod Podge, or double-sided poster tape to attach the print smoothly to the cardboard.
- Support Stand: A cardboard easel, foam board stand, or fold-out strut to help the cardboard cutout stand upright.
- Heavy-Duty Tape: Duct tape or packing tape to strengthen the stand connection on the back of the cutout and to help hold multi-piece sections together securely.
Tools required to make a cardboard cutout include:
- Utility Knife or X-Acto Knife: To cut clean edges around the subject, and improve crop precision on thick cardboard.
- Self-Healing Cutting Mat: For protecting the work surface and making it easy for the cutting tool to move smoothly.
- Metal Straightedge or Ruler: Create straight cuts and guide the blade during trimming and alignment.
- Pencil: To mark crop lines, sketch outlines, and position the printed image before gluing it onto the cardboard.
What Steps Should You Follow When Making a Cardboard Cutout?
Steps to follow when making a cardboard cutout include selecting a clear image, deciding on the cutout size, printing the image, trimming and arranging the pages, attaching the image to cardboard, cutting around the outline, adding a stand, and protecting the front. Following these steps accordingly helps improve the appearance, stability, and durability of the finished cardboard cutout.
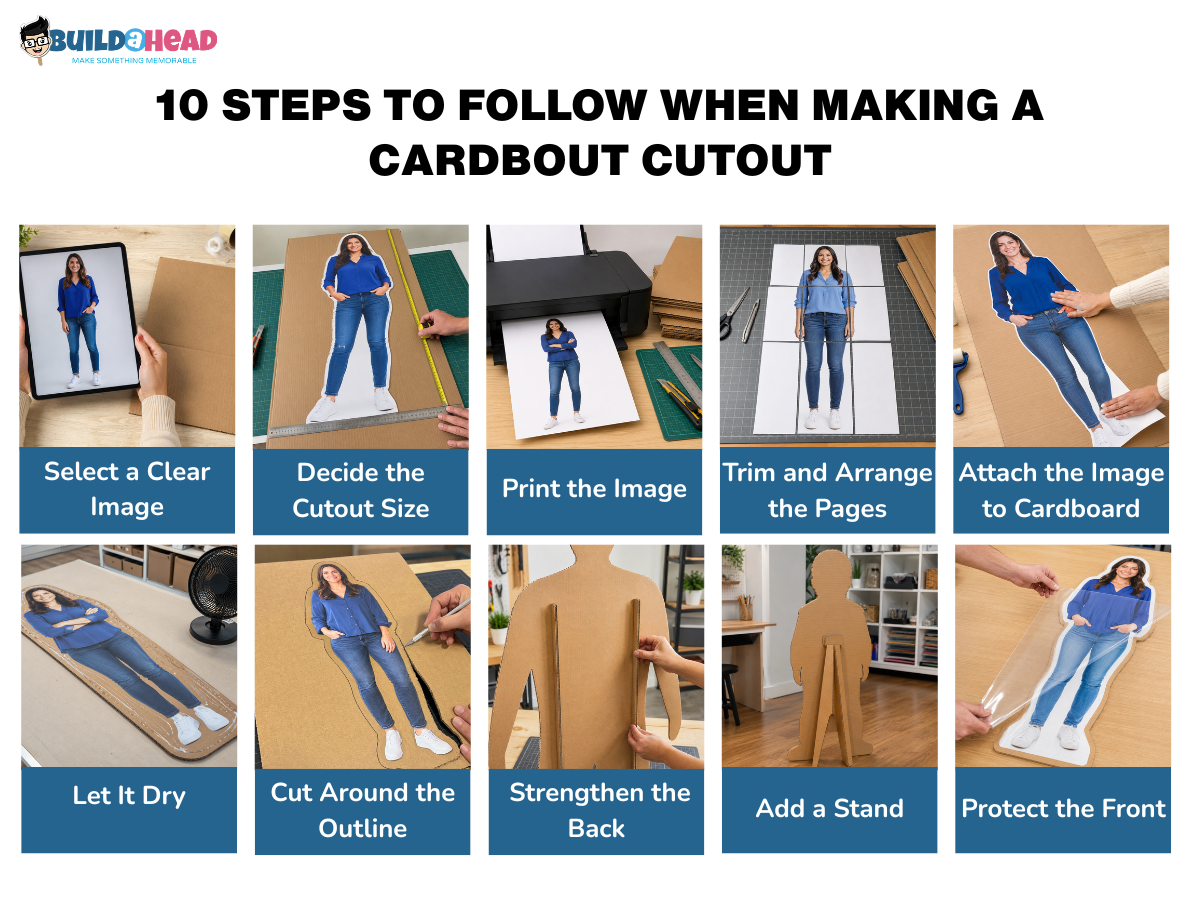
Below are the 10 steps you should follow when making a Cardboard cutout:
-
Step 1: Select a Clear Image
Start by choosing a clear, high-resolution, sharp full-body digital photo (ideally 300 DPI) of the subject for your cardboard cutout. The image should be sharp, with minimal shadows and a clean background to prevent blurriness or pixelation when enlarged to a life-size cutout.
Avoid photos with harsh lighting, deep shadows, or cluttered backgrounds, as these can reduce the quality of the final result. Use photo editing software such as Photoshop, Canva, or Bazaart to remove the background, leaving only the subject visible.
-
Step 2: Decide the Cutout Size
Next, choose the cutout size based on the subject dimensions, display location, and printing method. To determine the appropriate size, measure the subject from the top of the head to the bottom of the feet for adults, or use the standing height for children and pets. See the reference below for accurate cutout sizing:
- For adult standees at parties, events, or trade shows: Life-size cutouts should stand between 5 and 6.5 feet tall (60 to 78 inches).
- For children's cutouts or tabletop displays: Select a height between 2 and 4 feet.
- For desk decorations or small display setups: Mini cutouts measuring 1 to 2 feet work best.
-
Step 3: Print the Image
With the cardboard cutout size determined, proceed to print the image using either a home printer or a professional print shop. If printing at home (DIY), use a web utility such as Rasterbator to tile the large image across multiple standard 8.5x11-inch pages for a diy cardboard cutout.
If using a professional service, save the high-resolution image file to a USB drive and send it to a local print shop such as Staples, Walgreens, or CVS to print a large-format matte poster. For professional image printing on cardboard cutouts, Matte printing is often recommended, as it helps reduce glare and improves the appearance of life-size cardboard cutouts.
-
Step 4: Trim and Arrange the Pages
Trim the white borders from each printed sheet using scissors or a craft knife before assembling the image. If you used the DIY tiling method, carefully remove the margins from all pages so the image sections connect cleanly without visible gaps.
Then arrange the printed sheets on a flat surface and piece them together like a puzzle, making sure all lines and edges align correctly. Leave a slight overlap margin between adjacent pages to help hide seams and create a smoother, more professional-looking cardboard cutout.
-
Step 5: Attach the Image to Cardboard
Once the cutout is trimmed, lay the cardboard flat on a clean surface before attaching the printed image. Lightly mist the back of your prints with a spray adhesive such as 3M Multi-Purpose Spray Adhesive, or apply double-sided poster tape or peel-and-stick adhesive sheets evenly across the cardboard.
Position the image carefully, then press outward from the center with your hands or a flat tool to remove air bubbles and wrinkles. Attach multi-sheet sections individually to maintain proper edge alignment across the full image. In case of additional surface protection, apply a thin layer of gloss medium after attaching the image
-
Step 6: Let It Dry
Allow the cardboard cutout to dry completely before trimming the outline to ensure it remains durable and free of defects such as warping, bubbling, or peeling. Place the cardboard cutout flat on a clean surface for 1 to 2 hours or leave it overnight for stronger adhesive bonding.
Place heavy, flat objects, such as books, on top of the cutout to reduce warping and keep the surface flat as it dries. Do not begin cutting while the adhesive is still wet, as the paper may slide, wrinkle, or tear. Apply clear acrylic spray, shellac, or decoupage in thin coats for additional protection. Let each coat dry for 15 to 20 minutes before applying another layer.
-
Step 7: Cut Around the Outline
After the adhesive has dried completely, place the mounted image on a cutting mat or a thick piece of cardboard/foam board before trimming the outline. Use a brand-new, razor-sharp X-Acto knife or box cutter to carefully trace around the crop lines with slow, controlled cuts.
Hold the blade at a 45-degree angle to slice smoothly through the cardboard without tearing the edges. Replace dull blades regularly, as dull edges can crush cardboard and reduce cutting precision.
-
Step 8: Strengthen the Back
Once the outline is fully cut, flip the cardboard cutout face down to reinforce the back and improve stability. Attach a rigid vertical spine down the center using a wooden dowel, PVC pipe, or thick cardboard strip, then secure it firmly with hot glue to reduce bending or folding.
For additional rigidity, laminate two layers of corrugated cardboard with the corrugation lines facing opposite directions. Seal loose joints with packaging tape or papier-mache to improve durability and keep the cardboard cutout flat during display.
-
Step 9: Add a Stand
After reinforcing the back, create a rear easel or triangular strut support using thick cardboard or foam board scraps. Fold the material into an angled support shape that can hold the cardboard cutout upright during display.
Attach the stand to the vertical spine with hot glue, then reinforce the connection with heavy-duty tape for extra support. Angle the stand slightly backward at roughly 5 degrees so the cardboard cutout remains balanced and stable on flat surfaces.
-
Step 10: Protect the Front
Once the stand is securely attached, apply a clear laminate sheet, a matte adhesive film, or a thin coat of decoupage medium, such as Mod Podge, across the front surface. This protective layer helps shield the cardboard cutout from fingerprints, moisture, scratches, and surface wear.
Use 4mm corrugated plastic for outdoor displays or repeated handling because it provides greater durability and weather resistance. Once the protective layer dries completely, the cardboard cutout is finished and ready for display.
How Do You Make Different Types of Cardboard Cutouts?
To make different types of cardboard cutouts, select a clear photograph or illustration, remove unwanted backgrounds, resize the image, print it, mount it onto cardboard, and cut along the outline. Full-body and life-size cutouts require accurate proportions, while character, face, and silhouette cutouts need precise trimming. Small cardboard figures require detailed cutting and compact bases, whereas cardboard standees need reinforced rear supports. Each type requires suitable dimensions, cutting techniques, and stable support for upright display.
Full-Body Person Cutout
To make a full-body person cutout, select a high-resolution photograph showing the person from head to feet, remove the background, resize the image while preserving body proportions, and print it at the required height. Mount the printed photograph onto cardboard, cut carefully around the person's body outline, and attach a rear support to keep the cutout standing upright.
Use the following steps to make a full-body person cutout:
- Select a clear, high-resolution full-body photograph that shows the person's head, arms, legs, and feet without cropping important details.
- Remove the photograph's background and resize the isolated person to the desired height while maintaining the original body proportions.
- Print the enlarged photograph on a single sheet or across multiple tiled pages, then align and mount the printed sections smoothly onto cardboard.
- Carefully cut around the person's full body contour, including clothing, hair, arms, and legs, using a sharp craft knife or suitable cutting tool.
- Attach a rear cardboard easel, triangular brace, or fold-out support and check that the finished cutout stands upright without leaning or tipping.
Life-Size Photo Cutout
To make a life-size photo cutout, determine the subject's actual height, select a high-resolution photograph, remove the background, and resize the image to realistic 1:1 proportions. Print the enlarged photograph, mount it onto rigid cardboard, cut along the subject's outline, and attach a stable rear support. Accurate measurements, proper print alignment, and balanced support help maintain the cutout's realistic appearance and upright structure.
Here’s how to make a life-size photo cutout:
- Measure the subject's actual height and select a clear, high-resolution photograph that shows the complete subject without cropped body parts.
- Remove unnecessary background areas and resize the photograph to approximately life-size dimensions while preserving the subject's natural height-to-width proportions.
- Print the enlarged image on a single large sheet or multiple tiled pages, aligning the printed sections accurately before mounting them onto rigid cardboard.
- Carefully cut around the subject's outer contour with a sharp craft knife, keeping the edges smooth and preserving important body details.
- Attach a reinforced rear easel, triangular brace, or fold-out cardboard stand suitable for the cutout's height, then check its balance and stability on a level surface.
Character Cutout
To make a character cutout, select a high-resolution character illustration, remove unwanted background elements, and resize the artwork to the required dimensions. Print the character design, mount it on cardboard, cut carefully around its outline, reinforce narrow sections, and attach a stable rear support. This process helps preserve recognizable character details, keep edges clean, and prevent delicate cardboard sections from bending.
Make a character cutout with the following steps:
- Select a clear character illustration, mascot image, or graphic design, remove the background, and preserve defining features such as hair, clothing, costumes, and accessories.
- Resize the character artwork proportionally, print it at the intended dimensions, and mount the printed design smoothly onto cardboard.
- Cut carefully around the character's outline using a sharp craft knife, simplify intricate cutting paths where necessary, and reinforce narrow sections to prevent bending.
- Attach a rear cardboard easel, triangular brace, or fold-out support based on the character's height and width, then check that the finished cutout stands upright.
Face Cutout
To make a face cutout, select a high-resolution photograph showing clearly visible facial features, crop the image around the head, and enlarge it to the required dimensions while preserving natural facial proportions. Print the enlarged face, mount it onto cardboard, cut carefully around the head outline, and attach a handle or rear stand. Accurate cropping and precise cutting help maintain facial details and create a recognizable cardboard face cutout.
Make a face cutout with the following steps:
- Select a clear, front-facing photograph and crop it around the hair, ears, chin, and optional upper shoulders, removing unnecessary background areas.
- Enlarge the cropped face to the intended display size without stretching facial features, then print the image on a single sheet or multiple aligned pages.
- Mount the printed photograph smoothly onto cardboard and cut carefully around the head contour using sharp scissors or a precision craft knife.
- Attach a sturdy cardboard or wooden handle for handheld use, or install a small rear easel or folded cardboard stand for upright display.
Silhouette Cutout
To make a silhouette cutout, select a photograph or illustration with a recognizable outline, remove the background, and convert the subject into a solid-color shape without internal photographic details. Simplify complex edges, print or transfer the silhouette onto cardboard, cut carefully along the outer boundary, and attach a suitable rear support. Accurate outline tracing and clean cutting help preserve the subject's recognizable shape and prevent narrow cardboard sections from bending.
Use the following steps to make a silhouette cutout:
- Select a clear subject photograph, side profile, or illustration with a recognizable shape, then remove the background and isolate the outer outline.
- Convert the subject into a solid-color silhouette, black, and simplify small projections or intricate edges to create a clean cutting path.
- Resize the silhouette to the required dimensions, then print the design or transfer its outline directly onto cardboard using a pencil or tracing method.
- Carefully cut along the silhouette's outer boundary with sharp scissors or a craft knife, keeping edges smooth and reinforcing narrow sections as needed.
- Attach a rear cardboard easel, triangular brace, or folded support if the silhouette needs to stand upright, and check its stability on a flat surface
Small Cardboard Figure
To make a small cardboard figure, select a clear photograph or illustration, resize the image to compact dimensions, and print it while keeping important details recognizable. Mount the printed design onto lightweight cardboard, cut carefully around the figure's outline, and attach a small base or folded support. Accurate scaling, precision cutting, and a balanced stand help maintain the figure's shape and keep it upright.
Here’s how to make a small cardboard figure:
- Select a high-resolution image of a person, character, or object, remove unnecessary background areas, and resize the design to the intended tabletop or handheld dimensions.
- Print the reduced image with clearly visible features and mount it smoothly onto thin cardboard or compact corrugated board using a suitable adhesive.
- Cut around the figure's outline with precision scissors or a sharp craft knife, preserving small details without damaging narrow cardboard sections.
- Create a compact support using a folded cardboard tab, slot stand, miniature easel, or interlocking base, then check that the finished figure stands upright on a flat surface.
Cardboard Standee
To make a cardboard standee, determine the required display dimensions, prepare a high-resolution photograph or artwork, and print the design at the intended size. Mount the printed image onto rigid cardboard, cut along the required outline, and construct a load-bearing rear support. Accurate measurements, secure mounting, and a balanced stand help prevent the cardboard standee from bending, leaning, or tipping.
Follow these steps to make a cardboard standee:
- Measure the intended height and width, select a high-resolution photograph or artwork, and remove the background for a shaped standee or retain it for a rectangular panel design.
- Resize the artwork proportionally, print it on a single large sheet or aligned tiled pages, and mount the printed design smoothly onto rigid cardboard using a suitable adhesive.
- Carefully cut around the printed outline or rectangular edges with a sharp craft knife, keeping the perimeter smooth and reinforcing narrow or weak sections as needed.
- Build a sturdy rear support using a cardboard easel, kickstand, triangular brace, or interlocking base, ensuring the support extends far enough across the back surface to distribute weight.
- Place the finished cardboard standee on a level surface, check for leaning or tipping, and adjust the rear support until the structure stands securely.
What Are the Different Uses for Cardboard Cutouts?
Cardboard cutouts are used as event centerpieces, photo booth backdrops, retail displays, room decorations, marketing campaign props, and personal celebration displays. Their lightweight structure, strong visual appeal, and custom-size options make them suitable for both decorative and promotional purposes across many settings.
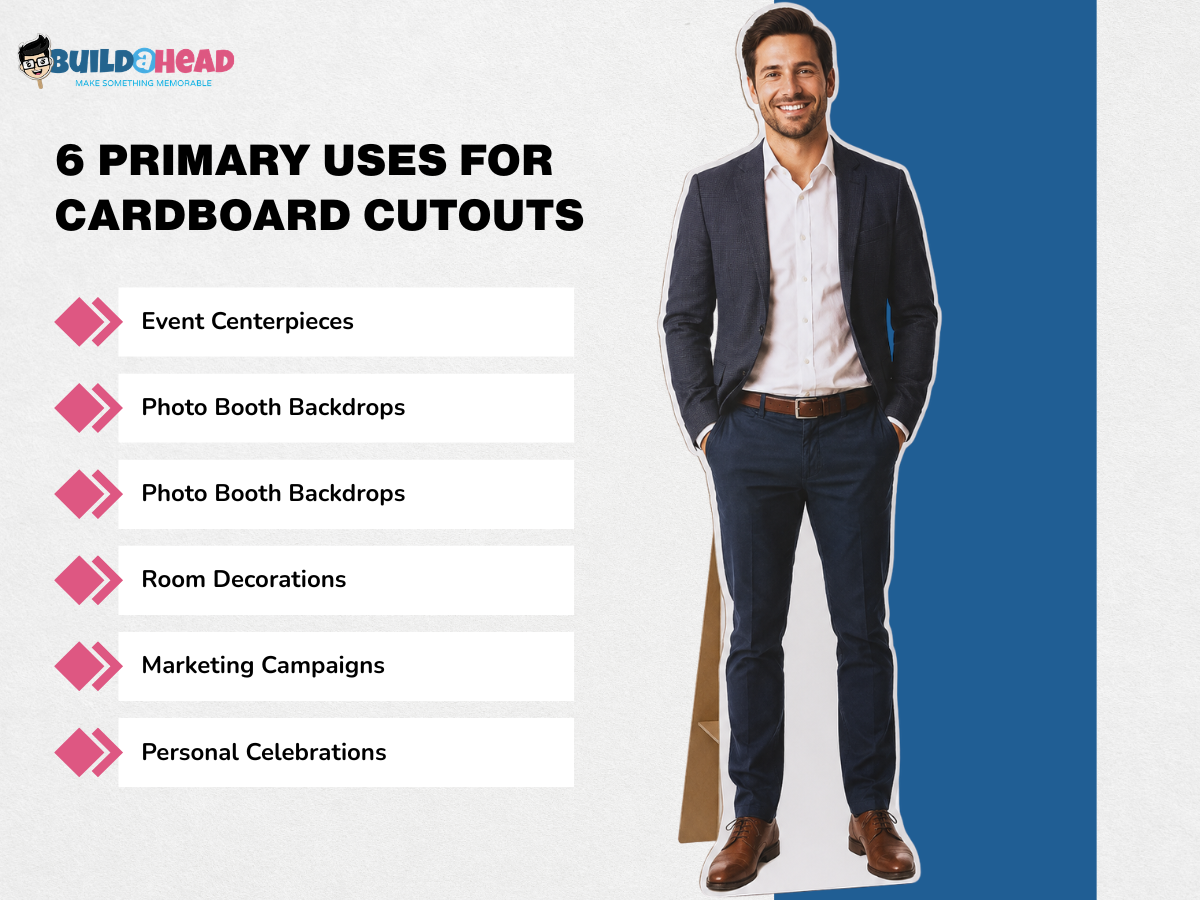
6 primary uses for cardboard cutouts include:
- Event Centerpieces: Cardboard cutouts often serve as event centerpieces, placed at entrances, near stages, beside cake tables, or around seating areas to reinforce the theme of a party or celebration. For example, a life-size cardboard cutout of a graduate or birthday honoree can stand at the entrance, making guests feel welcomed.
- Photo Booth Backdrops: Organizers use cardboard cutouts as interactive photo booth backdrops to encourage guests to take pictures and share them on social media. A custom standee of a celebrity, mascot, or inside joke gives attendees a fun prop for memorable photos.
- Retail Displays: For businesses, cardboard cutouts serve as retail displays to promote products, highlight special offers, or direct customer attention. An example includes a branded life-size cutout of a spokesperson or product mascot that can stand near a new product launch to attract shoppers.
- Room Decorations: Individuals display cardboard cutouts in bedrooms, game rooms, offices, or entertainment spaces to create a more personalized and creative atmosphere. Fans often place life-size cutouts of athletes, musicians, or movie characters near walls, desks, or gaming setups for decoration.
- Marketing Campaigns: Companies position custom cardboard cutouts at trade shows, public events, store displays, or promotional booths to increase brand visibility and audience engagement. A detailed standee can represent a brand ambassador, showcase a new product, or promote a limited-time campaign.
- Personal Celebrations: Friends and families place cardboard cutouts at birthdays, graduations, weddings, or bachelorette parties as decorative props or photo accessories. A cardboard cutout of someone who cannot attend the event can also stand in for group photos, creating a more memorable experience for guests.
What Factors Affect the Quality of a Cardboard Cutout?
Image resolution, material thickness and type, backing and support structure, printing and finishing, and precision cutting are the five main factors affecting cardboard cutout quality. High-resolution images produce sharp details, while rigid cardboard maintains shape and durability. Strong rear supports prevent tipping, and accurate printing preserves colors and contrast. Precise cutting creates smooth outlines. Poor execution in any area can cause pixelation, warping, instability, faded prints, or uneven edges.
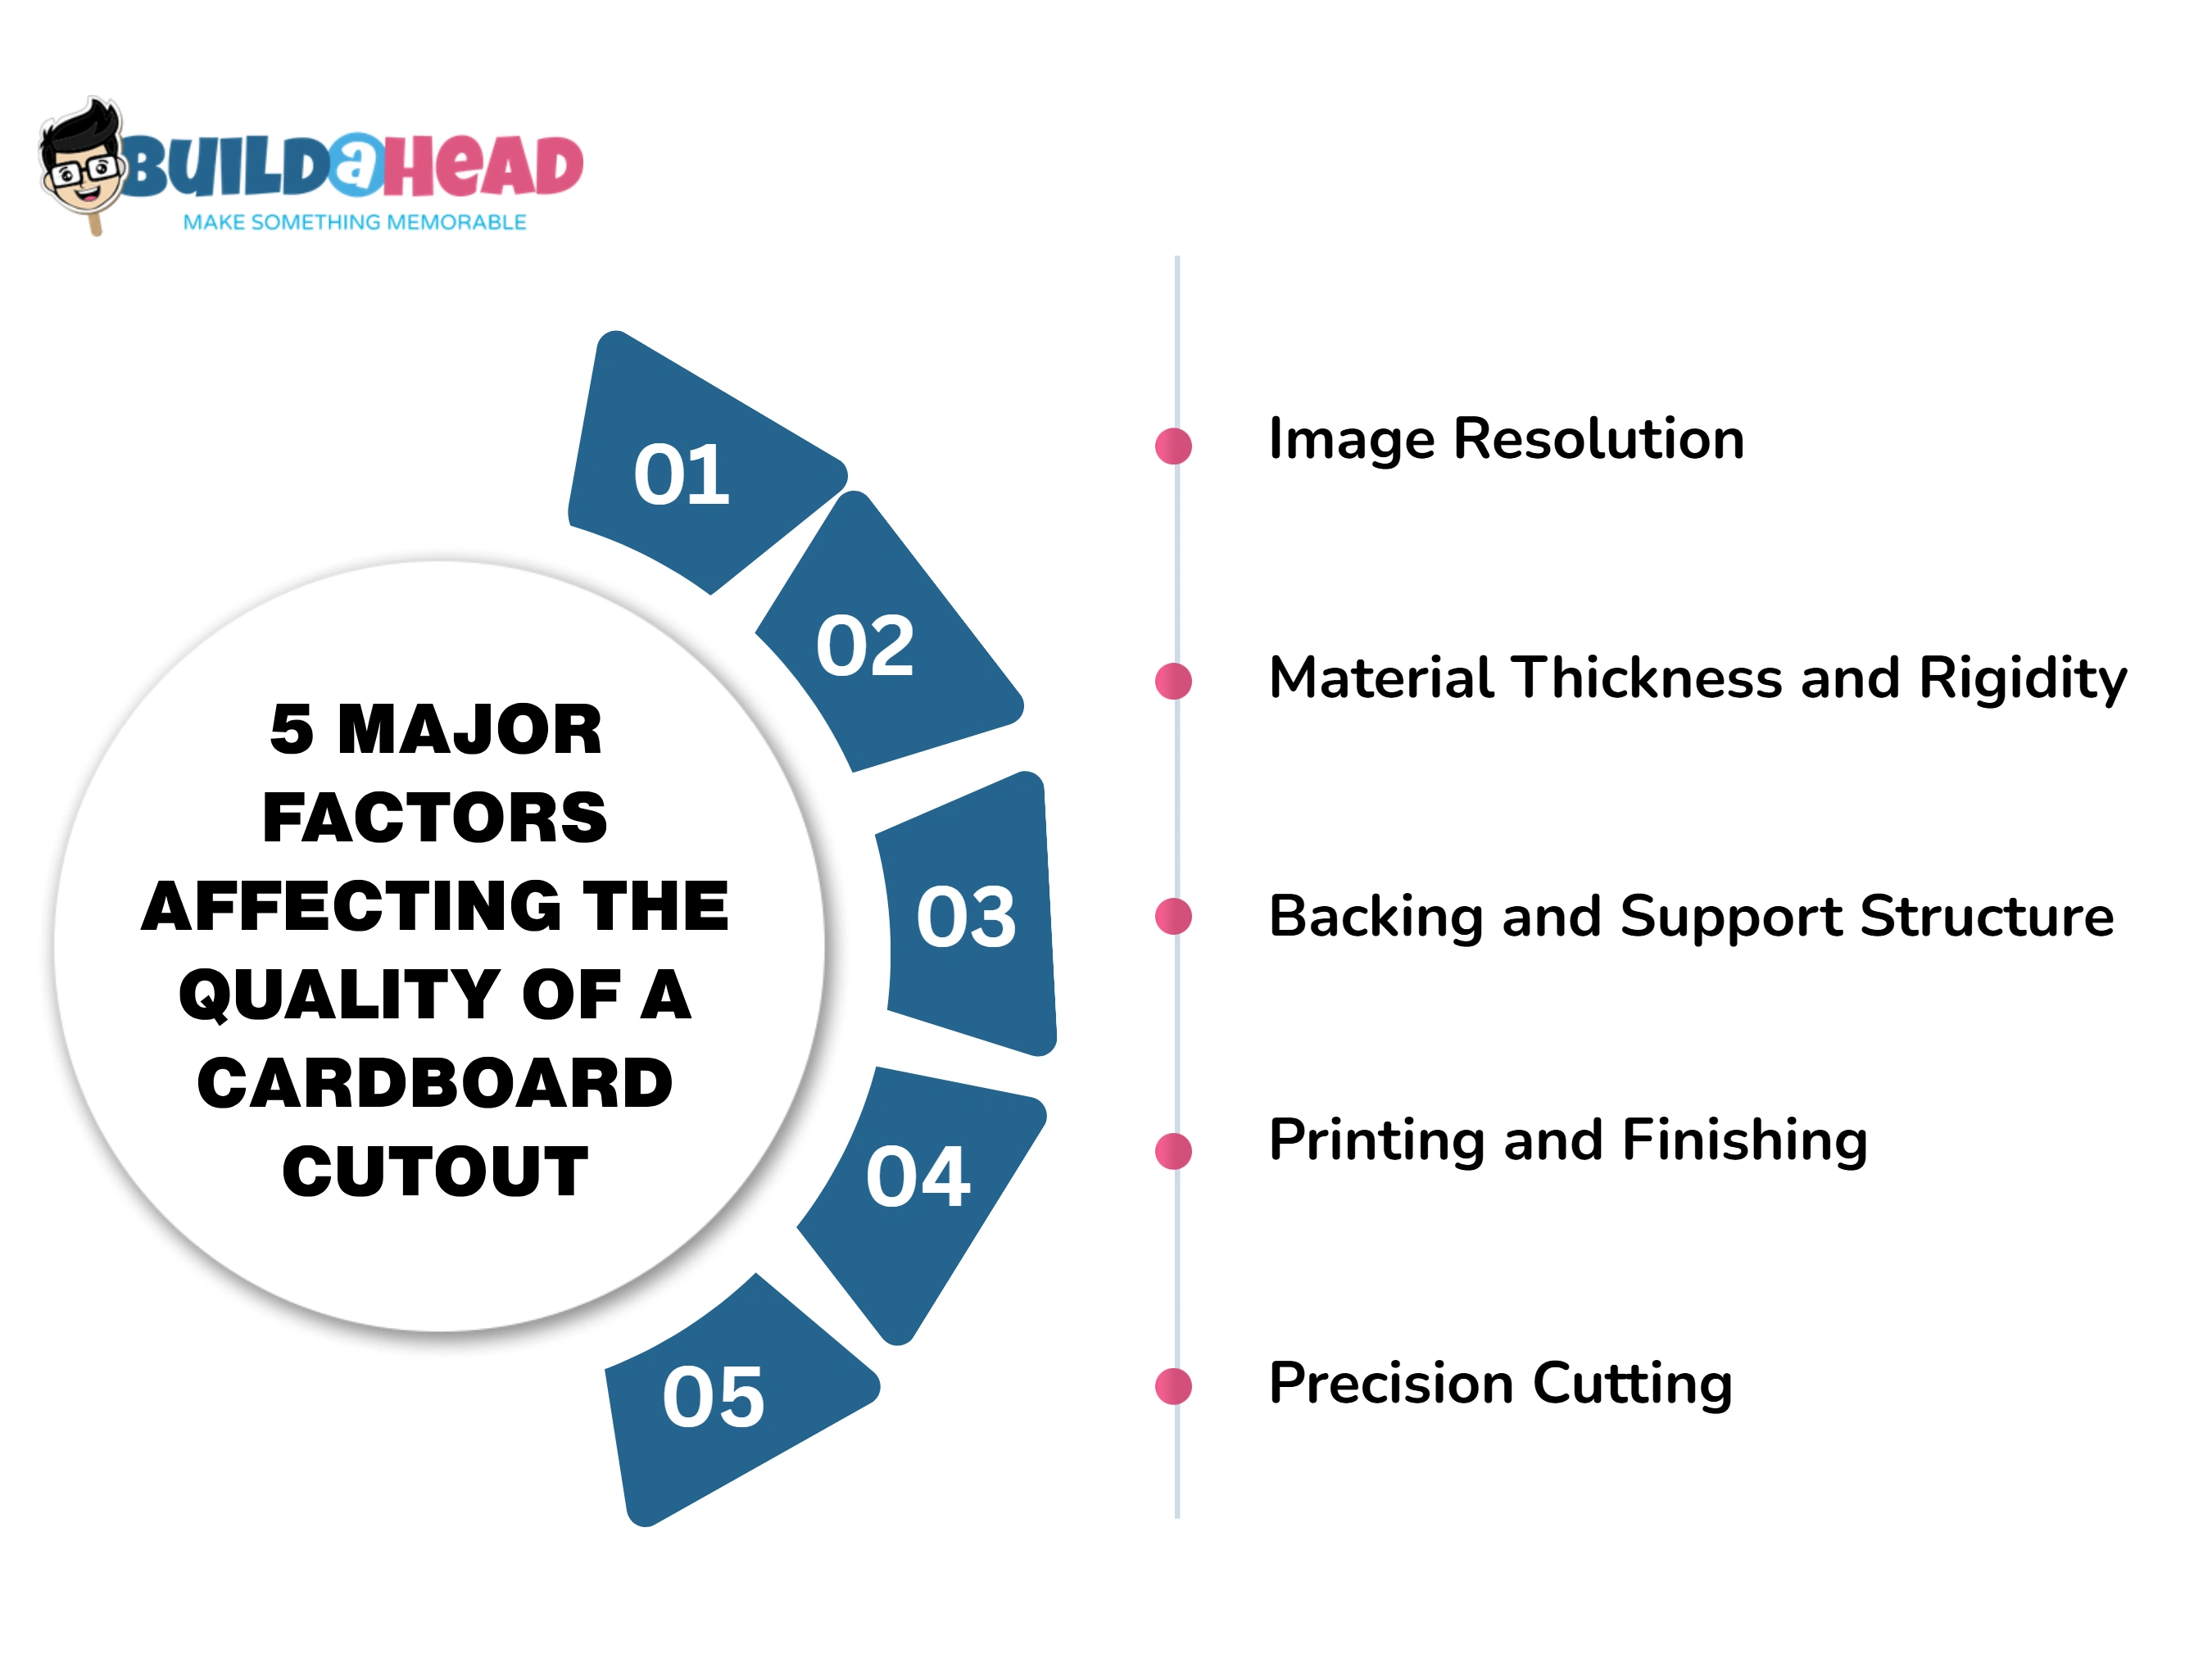
The following factors determine the visual quality, structural stability, and durability of a cardboard cutout:
- Image Resolution
A high-resolution source image produces sharp facial features, clear clothing details, and smooth outlines when enlarged for a cardboard cutout. Sufficient pixel density helps maintain visual clarity at the intended print size. Low-resolution images lose definition when enlarged, creating visible pixels, blurred edges, and distorted details. Choosing a high-resolution original photo reduces these defects and improves overall print quality.
- Material Thickness and Type
Choosing suitable cardboard helps maintain a flat surface, adequate rigidity, and consistent structural strength throughout the cutout. Thicker corrugated board generally resists bending better, while lightweight board is easier to cut and handle. Material selection also affects overall weight, durability, and stability. Cardboard that is too thin, uneven, or not suited to the cutout's dimensions may warp, buckle, or collapse during display.
- Backing and Support Structure
Properly positioned rear supports keep cardboard cutouts balanced, upright, and stable on flat surfaces. A strong easel, triangular brace, or fold-out stand should support the cutout's weight and keep it in contact with the floor. Secure attachments and proper stand placement help keep the center of gravity stable. Weak connections, narrow bases, or uneven weight distribution can cause leaning, bending, or tipping.
- Printing and Finishing
Accurate color reproduction, consistent ink coverage, and balanced contrast help printed cardboard cutouts retain clear photographic details. Smooth paper surfaces and properly aligned print sections prevent visible seams and uneven textures. Matte finishes can reduce glare, while suitable protective coatings help preserve the printed surface. Poor printing or finishing may produce faded colors, inconsistent tones, wrinkles, or distracting reflections.
- Precision Cutting
Clean contour cutting creates smooth edges that closely follow the subject's natural shape, including curves, corners, and narrow details. Sharp blades and controlled cutting movements help preserve intricate outlines without tearing the cardboard. Accurate trimming improves the finished cutout's realistic appearance and visual consistency. Dull blades, rushed cuts, or uneven trimming can produce jagged edges, damaged corners, and distorted silhouettes.
Can You Make a Cardboard Cutout Yourself or Should You Order One?
You can make a cardboard cutout yourself for budget-friendly projects or small personal events, whereas ordering a professional cardboard cutout is better suited to high-quality displays, large events, or long-term use. The right option between a DIY cardboard cutout and a professional one depends on your budget, print-quality expectations, available tools, and the time you want to spend on the project.
Make a cardboard cutout yourself if you:
- Want a low-cost diy cardboard cutout for birthdays, room decorations, or personal celebrations.
- Have approximately 2 to 4 hours available, spread across 1 to 2 days, for printing, assembly, drying, and finishing.
- Want full creative control over the size, design, and setup of the cardboard cutout.
- Only need the cutout for short-term indoor use or temporary event displays.
- Are comfortable manually trimming, assembling, and reinforcing the cardboard cutout.
Order a professional cardboard cutout if you:
- Need a high-quality life-size cardboard cutout with professional printing and cleaner edges.
- Want durable materials such as corrugated plastic, foam board, or laminated finishes.
- Need large custom standees for trade shows, retail displays, weddings, or corporate events.
- Want faster turnaround without handling printing, cutting, or assembly yourself.
- Need a cardboard cutout that can withstand repeated handling, transportation, or outdoor use.
How Much Does It Cost To Make a Cardboard Cutout?
The cost of making a cardboard cutout ranges from $5 to $115, depending on whether you order a custom version online or make one yourself at home. DIY cardboard cutouts fall in the lower range, priced from $5 to $20, while ordering a professional one falls in the higher range, priced from $15 to $115.
Prices for cardboard cutouts vary based on the cutout size, material, and the vendor or print shop you choose. Comparing these options helps you select the best fit for your budget and project needs.
How Can You Make a Cardboard Cutout Last Longer?
You can make a cardboard cutout last longer by sealing the edges, protecting the surface, reinforcing the back, storing it properly, and keeping it away from moisture or excessive heat. These protection methods help reduce bending, peeling, fading, and surface damage during storage, transport, or repeated use at events.
5 tips to make a cardboard cutout last longer are:
- Seal the Edges: Apply hot glue, packaging tape, or decoupage medium along the edges to reduce peeling, fraying, and corner damage.
- Protect the Surface: Apply a clear laminate sheet, acrylic spray, shellac, or Mod Podge coating to protect the printed image from scratches, fingerprints, and moisture.
- Reinforce the Back: Attach wooden dowels, PVC pipes, or extra cardboard supports to the back to reduce bending and improve structural stability.
- Store It Flat and Dry: Keep the cardboard cutout in a dry indoor location, stored flat against a wall or inside protective packaging to prevent warping.
- Avoid Excessive Moisture and Heat: Keep the cutout away from rain, humidity, direct sunlight, and heat sources, as moisture and heat can weaken the cardboard and damage the print surface.
How Much Does It Cost to Make a Cardboard Cutout?
Making or buying a cardboard cutout costs $10 to $120, while oversized or group displays can cost $150 to $250 or more. Small tabletop cutouts range from $10 to $30, standard 4- to 5-foot cutouts cost $45 to $75, and taller life-size standees cost $70 to $110. The total cost depends on the production method, cardboard thickness, printing requirements, customization, and support structure. DIY projects may cost less if you already have materials and cutting tools.
How Much Does a DIY Cardboard Cutout Cost?
A DIY cardboard cutout costs $10 to $50, depending on size, printing method, and required materials. Small tabletop cutouts may cost around $10 to $30, while larger full-body designs generally require more printing paper, cardboard, and support materials. Using existing cutting tools and adhesives can reduce expenses. Large-format printing, thicker backing, and extra finishing materials may push the total cost beyond a basic DIY budget.
Is It Cheaper to Make or Buy a Cardboard Cutout?
Yes, making a cardboard cutout is cheaper than buying a professionally produced custom cutout, especially when you already have the necessary tools and materials. A DIY cutout may cost approximately $10 to $50, while pre-made life-size cutouts cost $20 to $60 and custom versions range from $10 to $120. However, professional production can be more economical when large-format printing, precision cutting, or specialized equipment would otherwise require additional DIY expenses.
What Factors Affect Cardboard Cutout Cost?
Cardboard cutout costs depend on size, material type, customization, quantity, and production requirements. Smaller designs use less material, while larger or more detailed cutouts require more printing, cutting, and structural support. Material upgrades, image editing, and expedited delivery can further increase the final price.
The following factors affect cardboard cutout costs:
- Cutout Size: Small tabletop cutouts measuring 1 to 3 feet cost approximately $10 to $30, while standard 4- to 5-foot cutouts range from $45 to $75. Oversized displays can exceed $250.
- Material Type: Coated cardboard costs $10 to $30, while foam board ranges from $15 to $40. Premium material upgrades may add $10 to $40.
- Customization Level: Basic customization ranges from $10 to $20, mid-range customization costs $35 to $60, and premium customization can reach $70 to $100 or more.
- Quantity Ordered: Single professionally produced cutouts cost approximately $40 to $120 each, while orders of 50 or more may reduce the price to $23 to $27 per unit.
- Printing and Finishing: High-resolution printing, image touch-ups, contour cutting, and specialized finishing can increase expenses. Image editing or digital proofs may add $10 to $20.
- Support Structure: Reinforced easels, custom backing, and repositionable stands increase material and assembly requirements.
- Turnaround and Shipping: Rush production, protective packaging, and expedited delivery increase the total cost compared with standard processing and shipping.
What Are Common Mistakes to Avoid When Making a Cardboard Cutout?
Common mistakes to avoid when making a cardboard cutout include using low-resolution images, cutting with dull tools, applying too much glue, skipping support reinforcement, and ignoring proper alignment during assembly. Paying attention to these mistakes helps ensure your cardboard cutout stands out with clean lines and a sturdy finish.
Below are the 5 common mistakes to avoid when making a cardboard cutout:
- Using Low-Resolution Images: Low-quality images can create blurry or pixelated prints, especially on life-size cardboard cutouts. Use high-resolution images, preferably 300 DPI, for sharper results.
- Cutting with Dull Tools: Dull utility knives or scissors can tear the cardboard and create rough edges. Use a sharp X-Acto knife or box cutter for cleaner cuts and better crop precision.
- Applying Too Much Glue: Excess adhesive can cause wrinkles, bubbling, or warping on the printed surface. Apply spray adhesive or glue in thin, even layers for smoother attachment.
- Skipping Support Reinforcement: Weak backing support can cause the cardboard cutout to bend, lean, or collapse during display. Reinforce the back with cardboard supports, wooden dowels, or easel stands.
- Ignoring Proper Alignment: Poor page alignment can create visible seams and distorted images on tiled prints. Carefully arrange and align all printed sections before attaching them to the cardboard.
Where Can You Get a Custom Cardboard Cutout Made?
You can get a custom cardboard cutout made by specialist cardboard-cutout companies, local print and sign shops, large-format printing businesses, event-display suppliers, or online custom-print services. Specialist providers handle photo editing, contour cutting, and stand assembly, while local printers may offer personalized sizing and pickup options. Online printing services let customers upload photos, choose dimensions, and order finished cardboard standees for delivery.
Before ordering, check the provider's accepted image resolution, maximum cutout dimensions, cardboard thickness, cutting style, and rear stand design. For related personalized photo displays, consider huge heads as another available product category. Request a digital proof, confirm production turnaround and shipping costs, and review replacement policies for damaged or incorrectly printed cutouts.